I think it’s easiest to design from something physical that you can measure, or from pictures.
If using picture, it makes it easier if you have a photo from the side and the front.
Here is an example. This is a product I designed a few years ago.
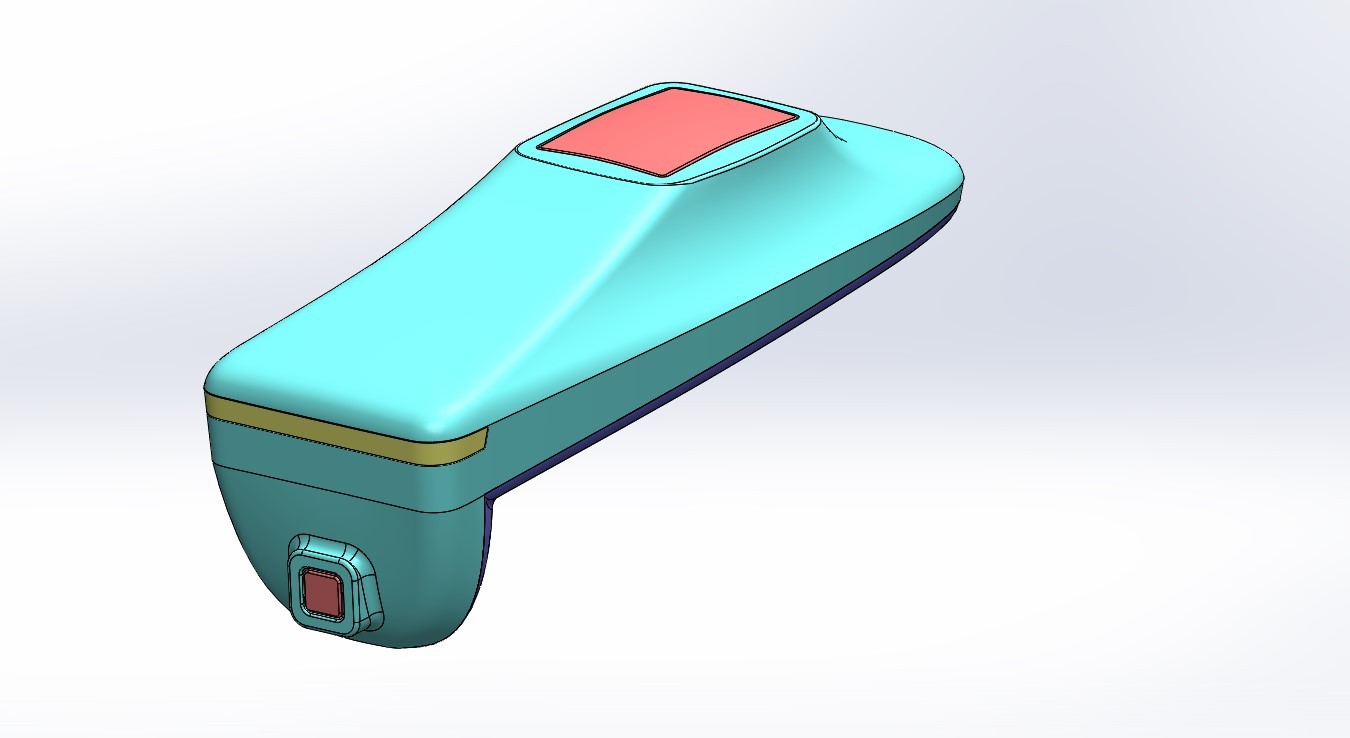
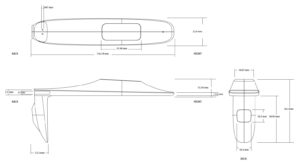
This is basically a button controller for room service. I was given these sketches from the client.
I bring these into Solidworks on the front plane and right plane and scale to size. From there, I can now see how the surfaces will fit.
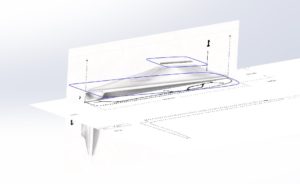
To start this part, I decided to get the top and bottom of the upper portion first. I used 2 curves for these profiles, as shown here. These are the 2 blue rectangular areas.
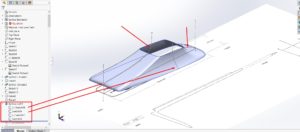
Once I have those, I added guide curves to assist the surface loft. Sometimes these are 3D sketches. In this case, these curves were on a plane, so they are regular sketches. The following picture shows the red arrows pointing to the guide curves.
The Surface-Loft 1 feature is the first main part of this model. It took around 7 sketches just to get the first feature of this part. As you can see, products like this can take quite a bit of work to complete.
If you have any more questions on 3D modeling in Solidworks, you can contact me directly at info@caddesignhelp.com


