How to Make a Custom Phone Case
How to Make a Custom Phone Case
As someone who has made dozens of different phone cases, I feel qualified to answer this question.
The summary of the steps are:
- Decide what phone you want to make a case for
- Create a CAD design of the case
- Make a prototype of the case and test it out. Typically the prototype is made by 3D printing
- Modify CAD and make another prototype. The reason is because you will never get it 100% perfect the first time
- Get tooling made to mass produce the case. This assumes you want to sell it.
- Get samples and evaluate. If everything is good you are ready to start selling your case.
First off you need to decide what specific phone you want the case to be for. Almost every phone model out there is a slightly different size. The basic process is the same no matter what phone you want the case for.
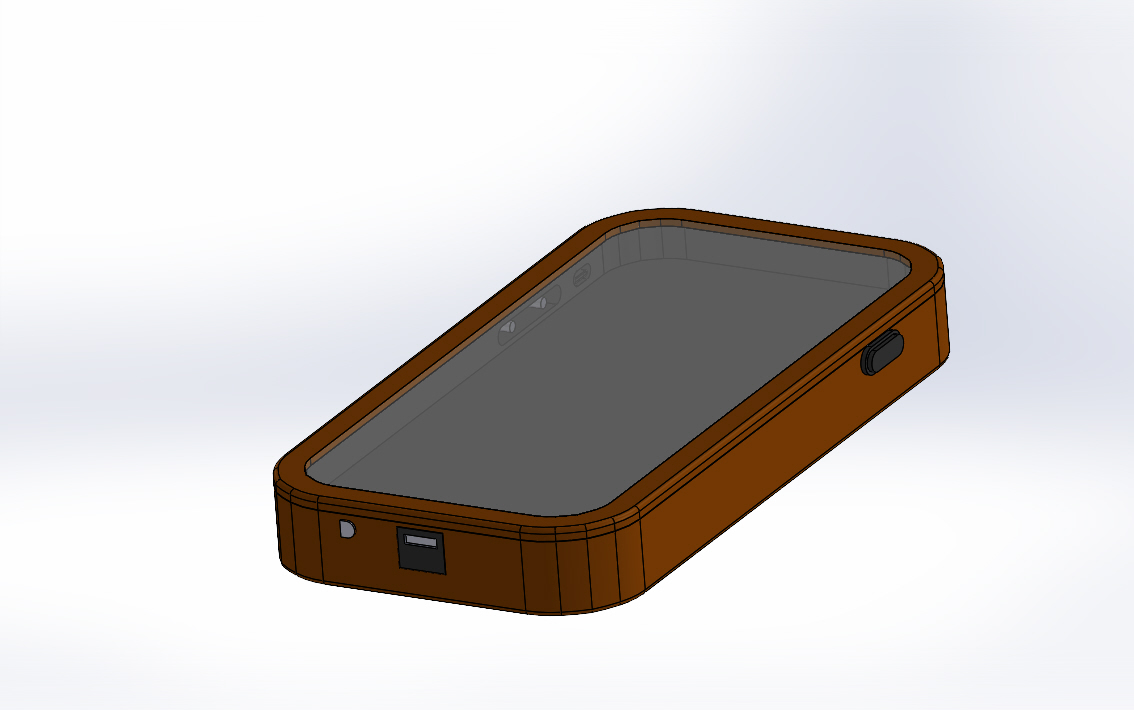
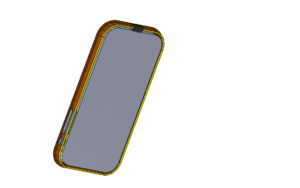
Let’s start with an example. This customer wanted a phone case for an iPhone 6 that was watertight and extra protective of the phone. Because this design has a top cover, the case did not need to be of a flexible material since the case snaps together. The following picture shows the cad file of the case.
The main features of this case are the main body (shown in orange), the clear top cover with hard plastic outer edge, and rubber buttons. The rubber buttons are critical because you want to be able to use those buttons, but the design also needed to be water tight. I designed this cad file using Solidworks. Next I will give some technical info on how I drew it up.
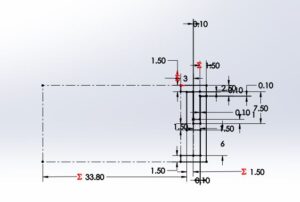
To make this design, I used the information available online about the iPhone 6 dimensions. Then I first used a sweep command in Solidworks to define the inner and outer perimeter of the case. The next picture shows the sketch of the case profile.
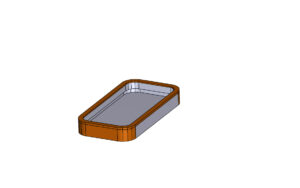
After this I filled in the bottom floor and the next picture shows the progress so far.
Then I made the top cover with a slight clearance of 0.25mm to fit inside the bottom case. Because this design requires a watertight seal, a gasket is required. The next photo shows the gasket in yellow.
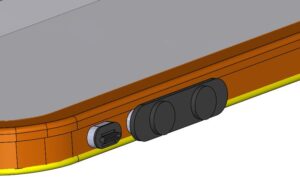
After this, I cut the holes in the hard plastic case and added the rubber buttons. The next photo shows some of the buttons.
That pretty much sums up the CAD design phase of the process.
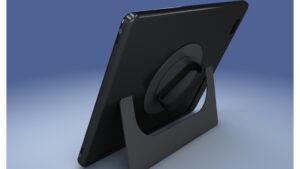
I have a few other examples of phone cases I have designed. The next photo shows a case that incorporates a stand and finger loop into the design.
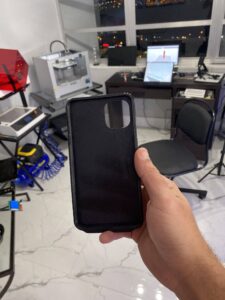
I have one more example to show. The next design shows a phone case with an indent for the pinky finger to fit in at the bottom to help stabilize the phone. Because this case is just one piece, it is made of a rubber like material so it can flex around the phone and hold tight. The picture shows the 3D print of the case.
Regarding CAD design cost: It will usually cost around $400 to 800 for the cad design fee.
Like I stated earlier, the next step would be to get tooling made. If you have a low quantity of product to sell you could use 3D printing to make the parts. However, it typically takes about 8 hours to print one case. Because of this long time, I would have to charge around $20 per case to produce it. It would be unlikely that you could charge customers say $40 or more for a phone case (this would leave you a $20 profit margin).
The advantage of going to tooling (also called injection molding) is that you can get each case made for roughly $1, or less sometimes. You will pay about $5000 to get the mold made, but then you can make product quickly and cheaply. I recommend using a source outside of the USA as you will pay quite a bit less to get it made. I usually use a manufacturer in China with my clients.
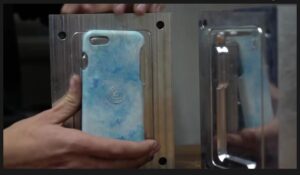
The next photo show what tooling (the mold) looks like for a phone case.
It is 2 pieces of steel with a pocket hollowed out. The material of the case (typically plastic or silicone rubber) is injected in under high temperature and pressure. It then cools, forming the final shape.
In my first example, you would need 5 tools made (upper case, lower case, and 3 buttons). If the material of all pieces is the same, you can use one piece of steel with 5 pockets (also called cavities) cut out.
When you get the first pieces out of the tool, you must inspect to make sure there are no defects or dimensional issues. Because even if the size of the cavity is perfect, the material can shrink too much when cooling. The exact process parameters of injection molding takes a lot of trial and error to get right. But typically after a few rounds of samples are made, the process will be ironed out and you will be ready to start selling your phone cases.
If you have any questions or need help with your phone case design, please reach out to me. We would love to help you on your project
Scott Tarcy
President, CADdesignhelp.com


