How to 3D print a hollow ball
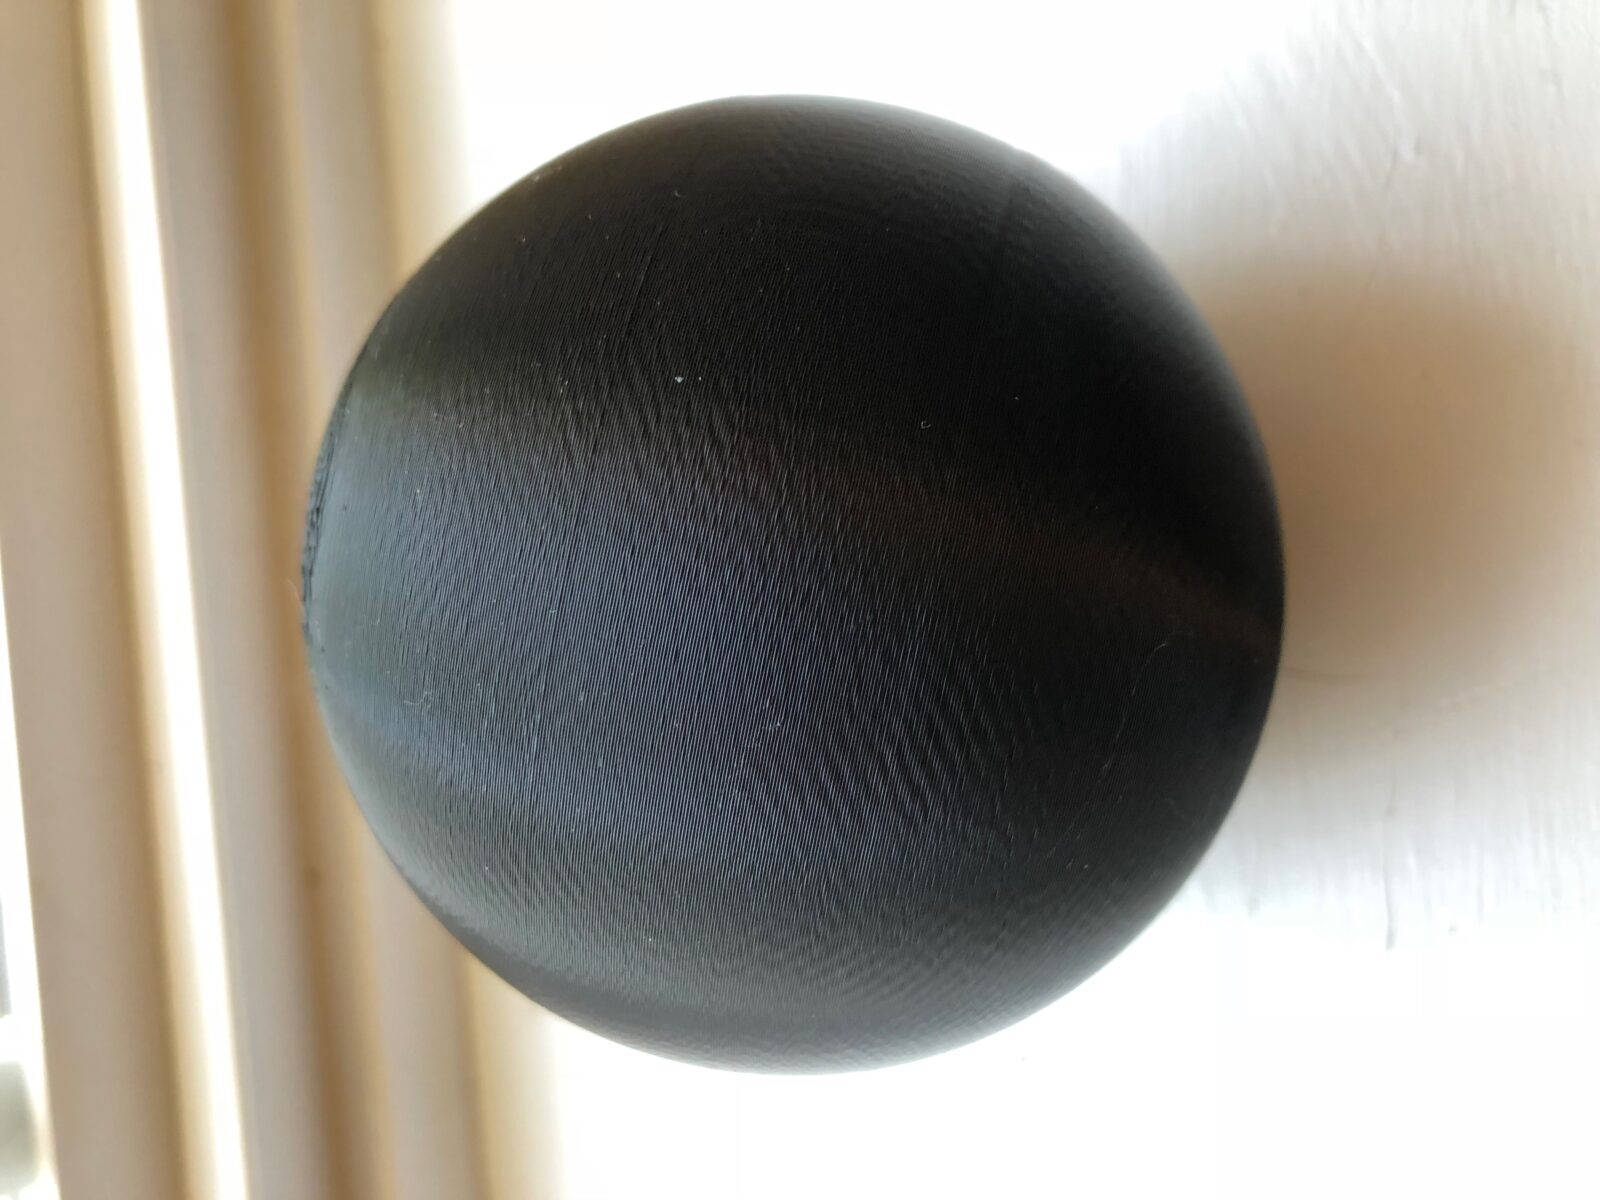
You might think it is easy to 3D print a hollow ball, but it actually took me quite a few attempts to get it right.
What I printed was a 40mm (1.57in) outer diameter ball with a wall thickness of 2mm.
It is very important that the ball is not too thin. If the printer cannot get infill into the part, the print will fail, so keep that in mind. Typically, you need at least 2 perimeter layers and some infill.
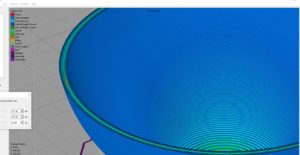
So, if you have a 0.4mm nozzle, with 2 inside layers and 2 outside layers, this will occupy an area of 0.4 *4 = 1.6mm. Therefore, this ball will still have 0.4mm available in between perimeter layers for infill. (infill can also be classified as gap fill)
See Figure 1. This shows the different categories that were just discussed. As you can see, there are 2 outer perimeters, 2 inner perimeters, and one gap fill.
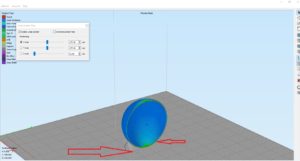
Next, you don’t want any support material inside the ball. See section view of the print preview in Figure 2. There is no support material inside.
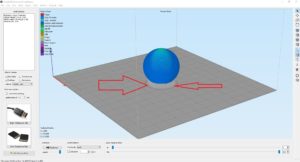
However, supports are needed underneath to keep the part stable at the beginning of the print, as seen in Figure 3. The red arrows point to the support material.
In order to get supports under the ball but not inside, some custom settings are needed.
I use Simplify3D as my slicing software (slicing software is the software used to tell the 3D printer how to make the CAD file. The printer needs more information than just the CAD).
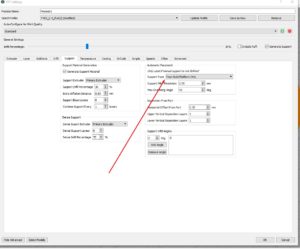
What is needed is that “from build platform only” is checked in the support settings tab. This will prevent supports from forming on the inside, which would normally happen because there is an overhang of more than 45 degrees at the top of the ball. Figure 4 shows a screenshot from Simplify3D where this setting is located.
Well that about wraps it up. If you have any more questions on 3D printing or CAD design, please feel free to reach out to us at info@caddesignhelp.com


