I recently invented a product that solves a big problem in a popular cup. The Yeti Tumbler is a very popular cup that does a great job keeping your drinks cold/hot but it has one major flaw: the lid has an open hole in it!
I already wrote a blog post on my Yeti Plug invention, so you can read that on the previous invention. But this blog post is about a new version of the plug, a silicone version.
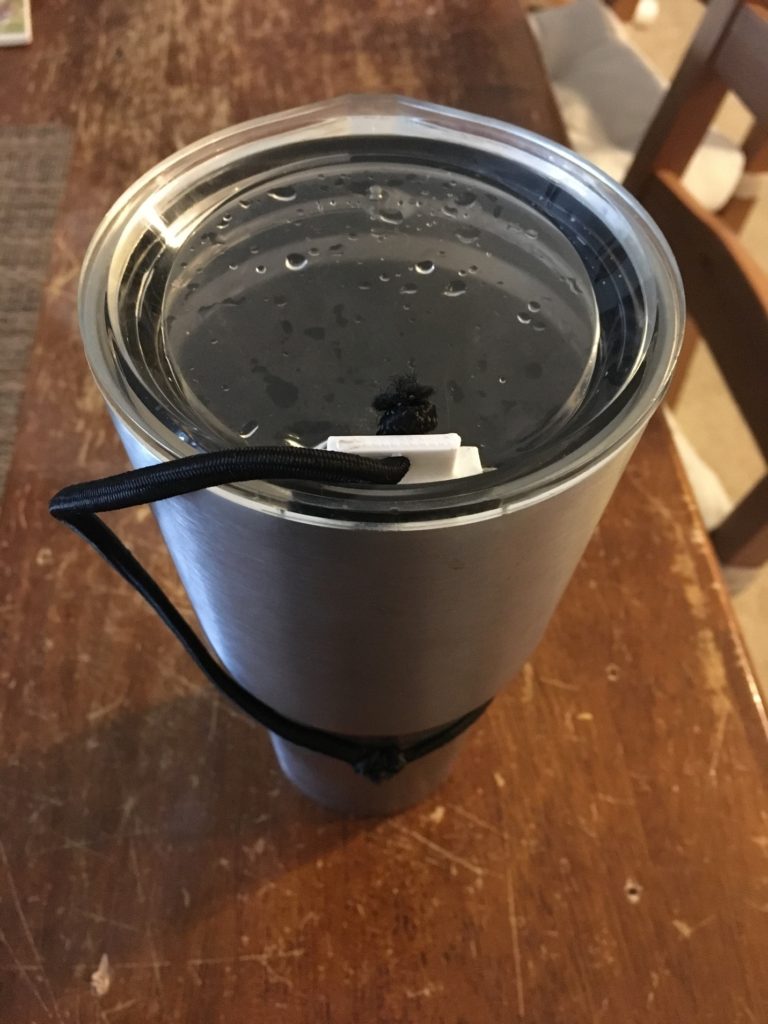
The first version of the plug was made from PLA plastic and then later I added an elastic cord that goes around the base, as seen in the picture below. While this solution works great, I thought it would be interesting to see if I could improve the product.
With the help of my co-worker Rick, we came up with the idea to make this plug out of silicone. Silicone is nice because it is very flexible. This helps in 2 ways
- The plug part fits the hole much better and forms a tighter seal
- The elastic ring can go around the top of the cup and be kept closer to the lid.
It would be best to show you how all of this works in the next series of photos.
The first thing we did was take the existing CAD file of the plug and add the extension of the cord and loop, as shown in Figure 1
Figure 1
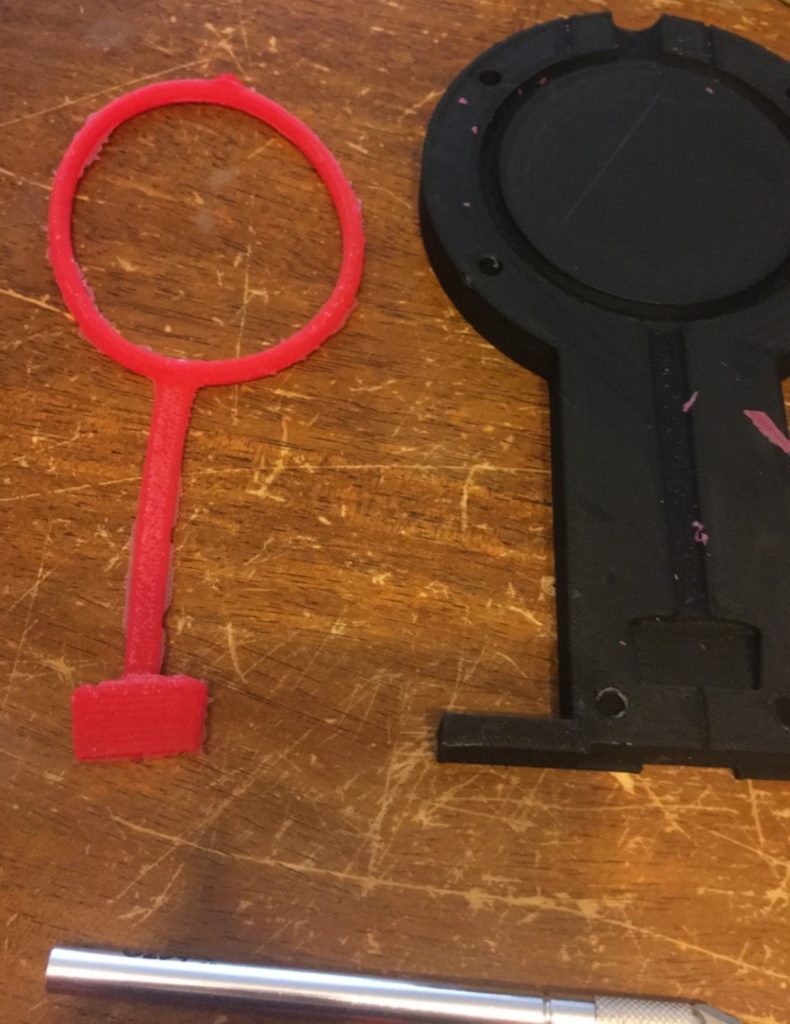
From this file, we created a mold. The mold is essentially the negative of the part. Figure 2 shows a picture of the mold and the part after removing it from the mold.
Figure 2
To make this process easier to follow, I will list the step required to make a molded silicone part and the tips I learned in each phase.
- Create CAD file of your part
- This material is flexible so you want to plan for that. For example, the diameter of the top of the Yeti cup is somewhere around 100mm. At first we designed the inner diameter of the ring at 100mm. But since the material stretches so much, we found that making the inner ring diameter around 80mm works a lot better. That 20mm of stretch makes it hold onto the cup.
- Create a mold of your part.
- Creating a mold isn’t overly complicated but there are important things to consider.
- You need to understand draft and parting line. I won’t go into all those factors in this article, but you can read my post here on that topic.
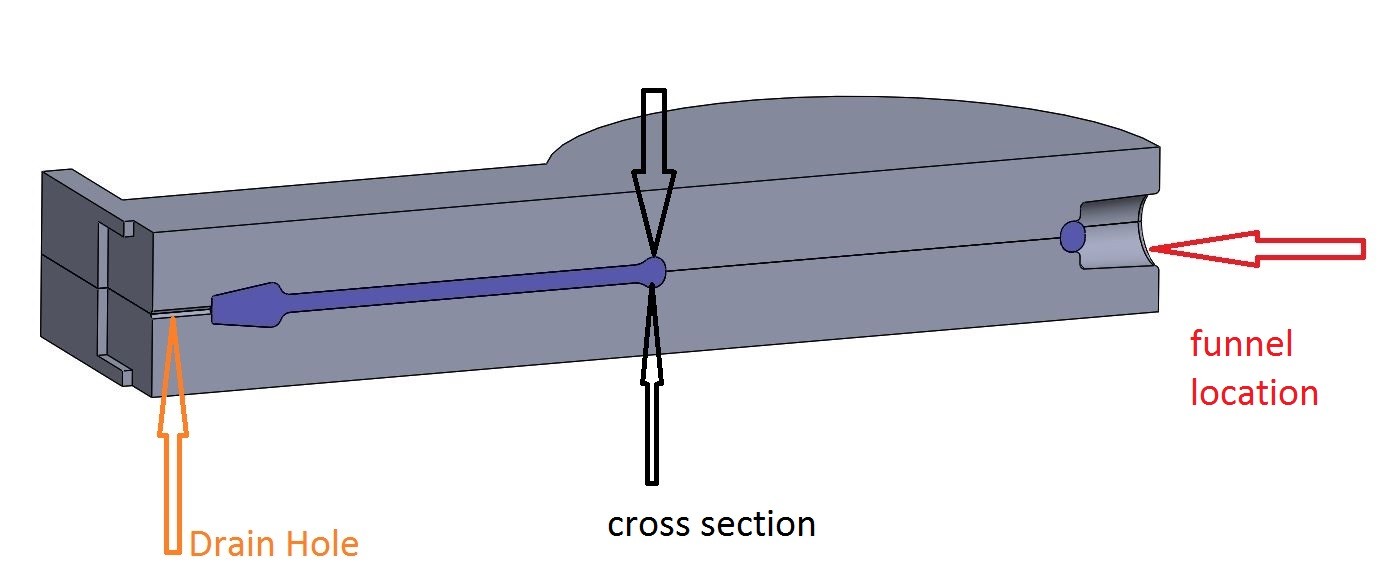
- The mold pictured in Figure 3 is the 3rd revision. In the first one, the cross-section size of the ring and extension part was too small and we could not fill the mold. The distance between the black arrows is the cross section of the ring.
Figure 3
- You need a drain hole at the bottom for any excess material when you pour the mold.
- Designing in some locator pins will allow you to line up the 2 halves of the mold. Use a 0.2mm offset between the pin diameter and the hole diameter. See Figure 4.
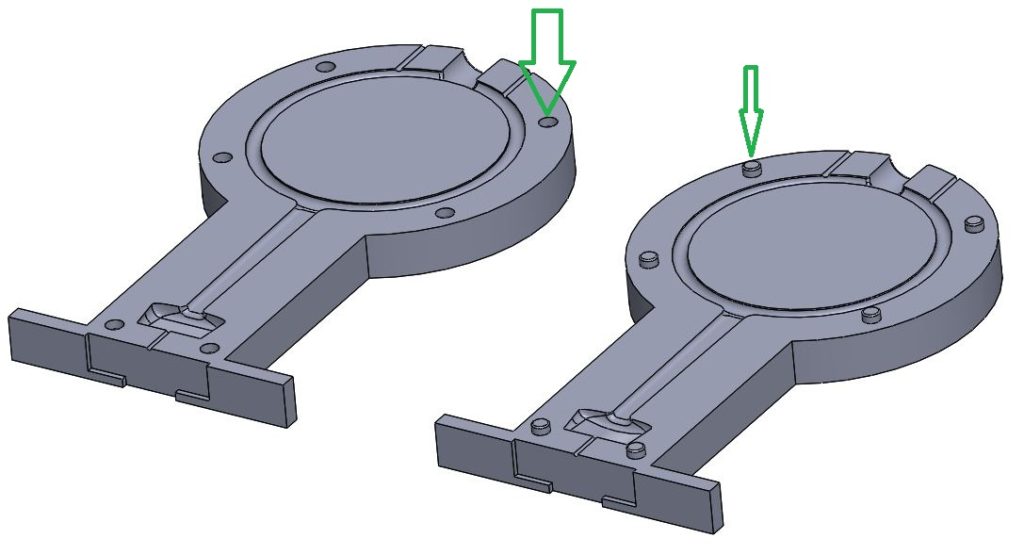
Figure 4
- Design air release holes at the top of the mold. The air needs a place to escape from. You will want to make the drain hole and air release holes small. We used a diameter of 2mm. See Figure 5.
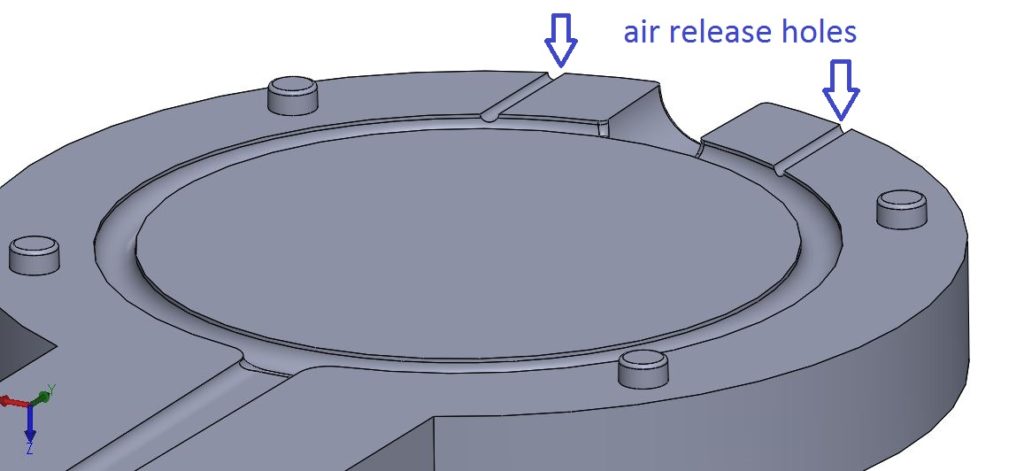
Figure 5
- 3D print the mold
- Most of the design is done in the CAD file itself but a few things we learned while 3D printing
- You don’t need a high infill, but I would recommend at least 40%. One reason is that you are going to be clamping the mold tightly together and you don’t want it to crack.
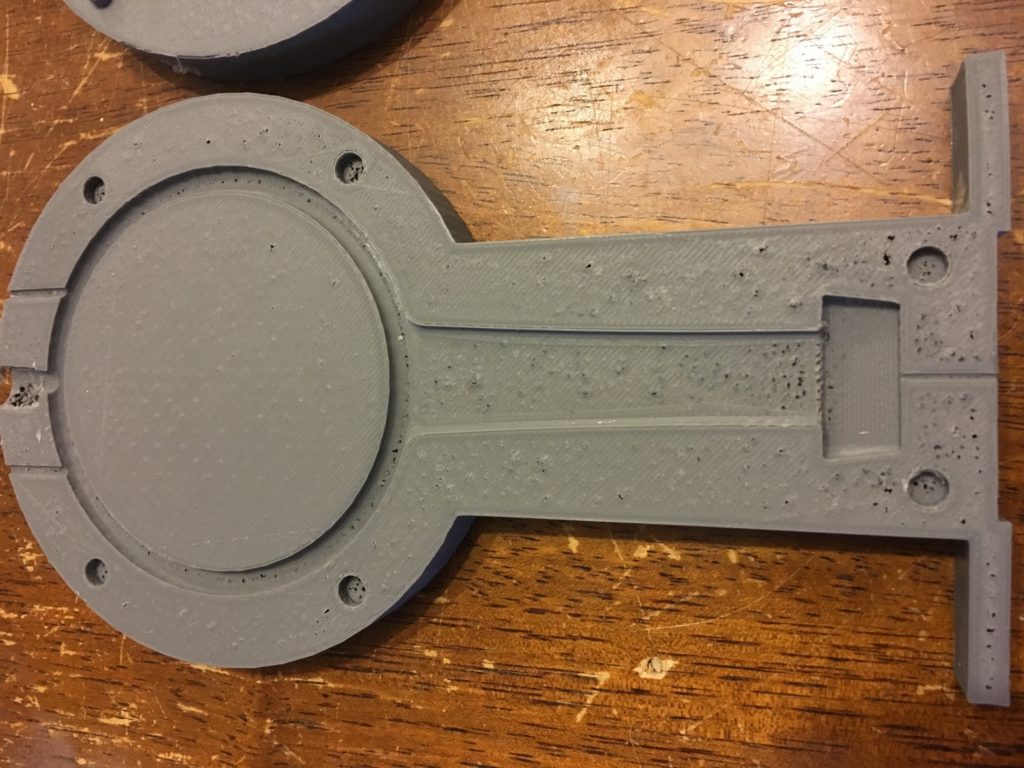
- You will want to do at least 3 top solid layers. If the infill is too low and you don’t have enough top layers, you will get small “holes”. Figure 6 is in my 2nd attempt at the mold, and I didn’t use enough infill and top layers.
- Most of the design is done in the CAD file itself but a few things we learned while 3D printing
Figure 6
- Mix the Silicone and Pour
- Not too complicated here. We used materials from Smooth-on. (Smooth-on uses distributors to sell their products, I will put links in here to Amazon where you can get these). Follow the directions on the package when it comes to mixing.
At first we used Sorta-Clear 37, which is a water white translucent silicone rubber. The issue with this material was the viscosity. Without getting overly technical, think of viscosity as the resistance to flow. Water has very low viscosity (flows easily when you pour it out of a cup) and honey has high viscosity. You pour the cup and wait forever for it to pour out. Honey has a viscosity of 10,000 cps. The viscosity of Sorta-Clear 37 is 35,000 cps. So essentially, this silicone has over 3 times the resistance to flow as compared to honey. What happened when we poured this silicone into the mold? See Figure 7. There were 2 issues: the mold didn’t fill completely and there was air trapped in the part. Basically, the material flowed so slowly that the air couldn’t escape and it couldn’t fill the mold. This even happed on the 3rd revision of the mold when we increased the cross section. We also used a thinner material that decreases the viscosity, but it only decreases it 50%. So even with a final viscosity of approximately 18,500, it still flowed much too slowly.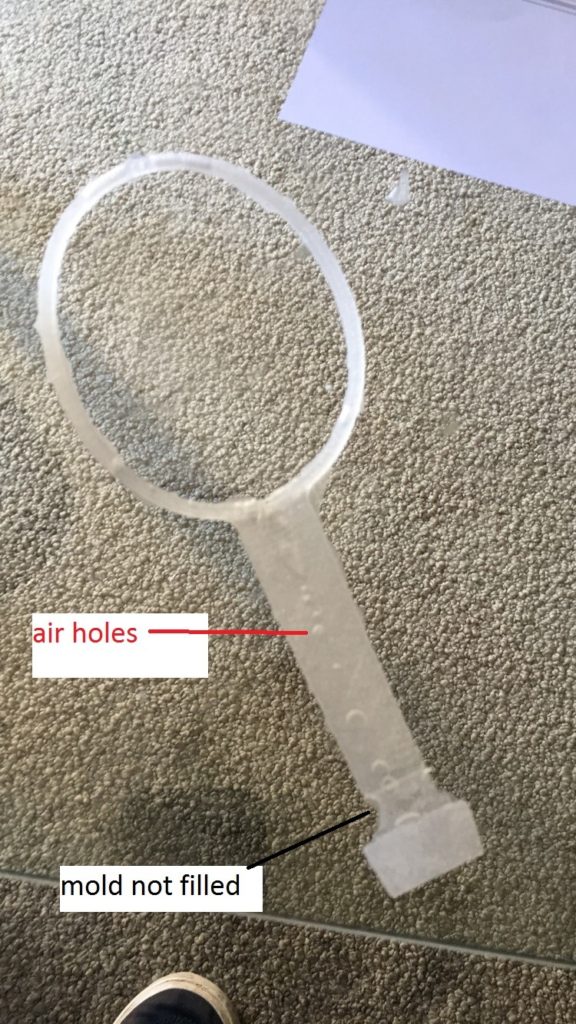
Figure 7
- At this point, we know that Sorta-Clear 37 is not going to work. I did some research and chose Mold-Star 20T. See Figure 8
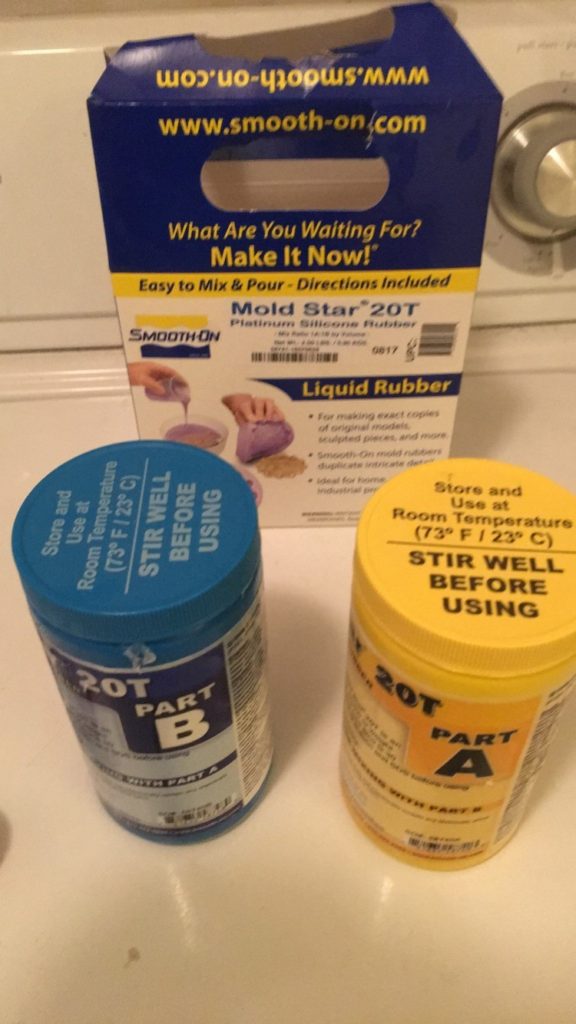
Figure 8
20T has a viscosity of 11,000 cps. This is 3 times lower than Sorta-Clear 37. This is the final material we went with, as it produced a good final part.
Some tips:
If you are using a color/dye, you literally need just one drop to get the color. This is the color additive we used. Also, using a toothpick to drop the color in works well. See Figure 8b1.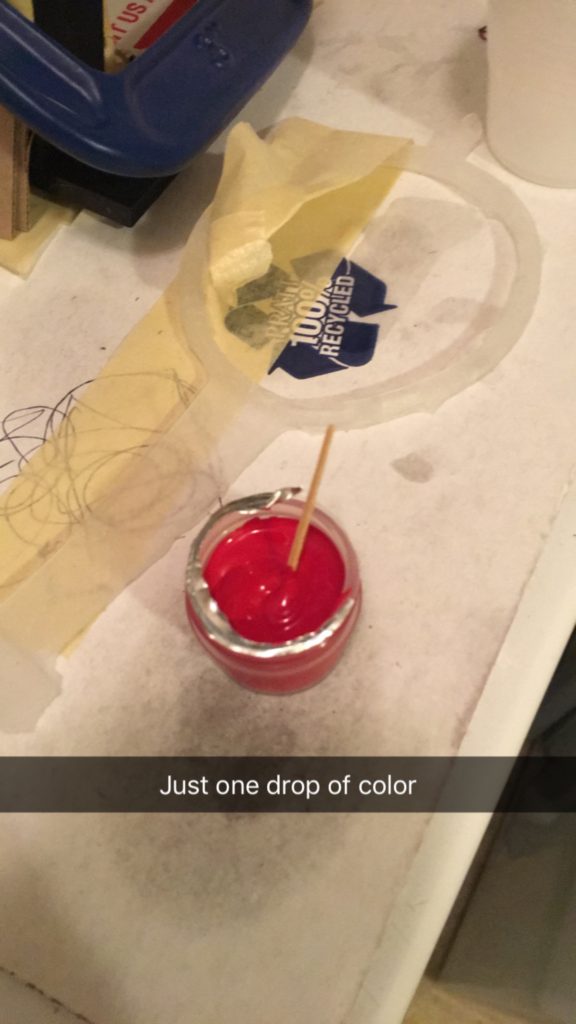
Figure 8b 1
- Create a funnel spot at the top of the mold. Despite the 3 times lower viscosity, it will still flow too slowly to just pour it directly into the mold. By using a funnel, you can pour the entire mixture into the funnel at once and then let gravity do its work. Another nice thing about 20T is that it only takes 30 minutes for the part to cure. See Figure 9
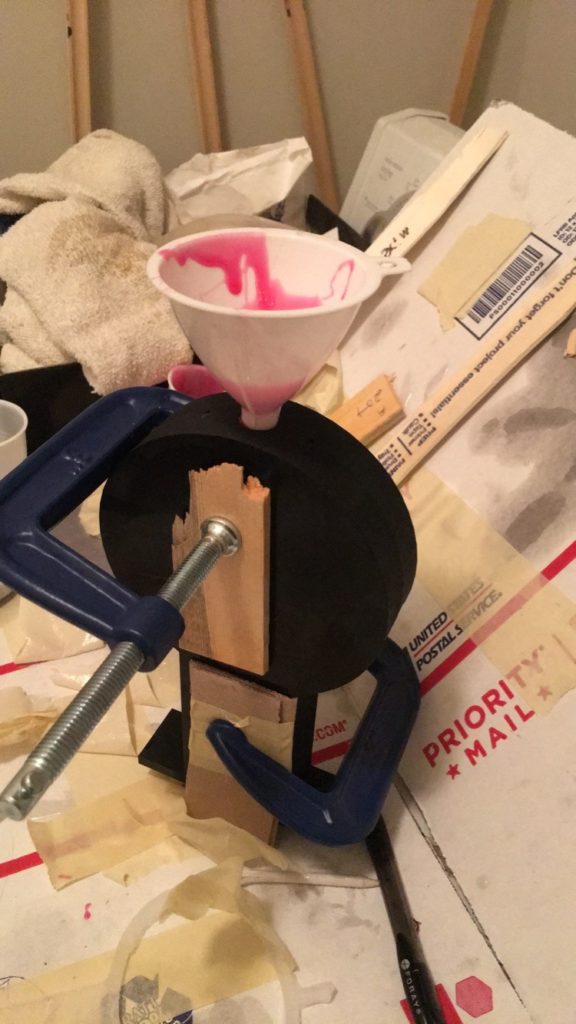
Figure 9
- Clamp the mold as tight as you can and use some wood or cardboard to even the pressure. You don’t want to crack the plastic by clamping it directly (it will put all the clamp pressure directly over a small area otherwise)
- After 30 min, go back and check. The silicone should be cured by now. If you got a full fill, you should see some silicone at the bottom (where the drain hole is). See Figure 10.
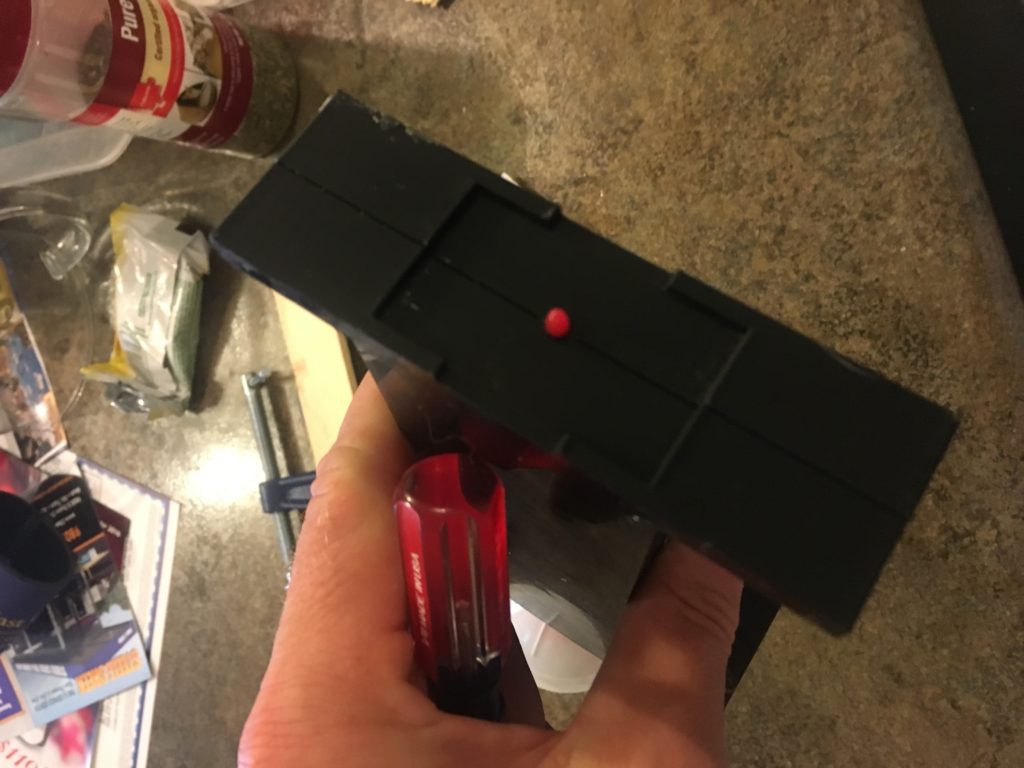
Figure 10
- The mold halves will be stuck together pretty good when it’s done. Use a flat head screw driver to get it apart. See Figure 11.
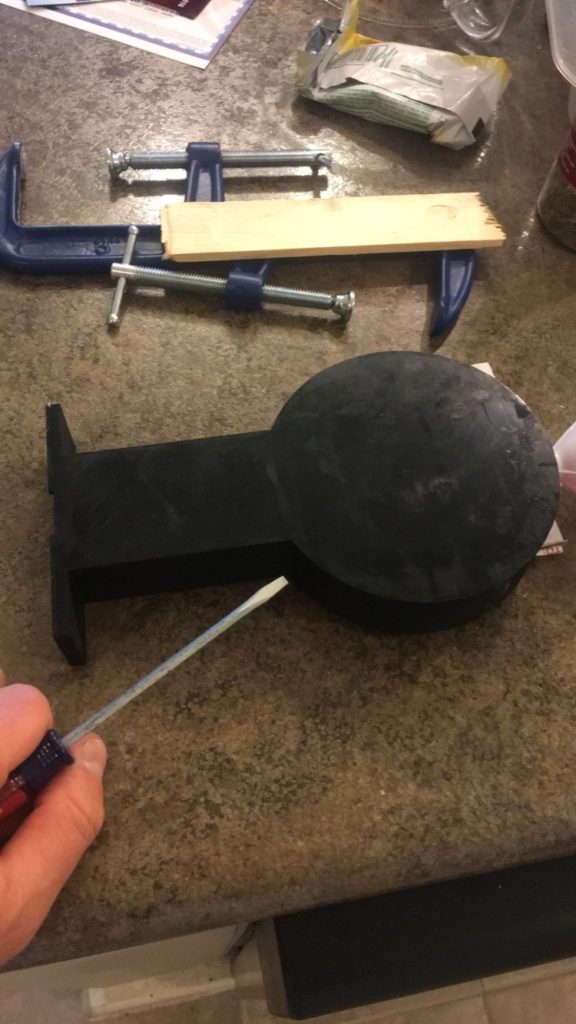
Figure 11
- No matter how hard you clamp it, you will probably get some flash. I am going to consider machining the mating faces of the mold to be as flat as possible, to reduce the flash. But in the meantime, trimming the flash is needed. An X-acto knife works well for this. Trimming it while it is still in the mold worked better than trimming after removing from the mold. See Figure 12.
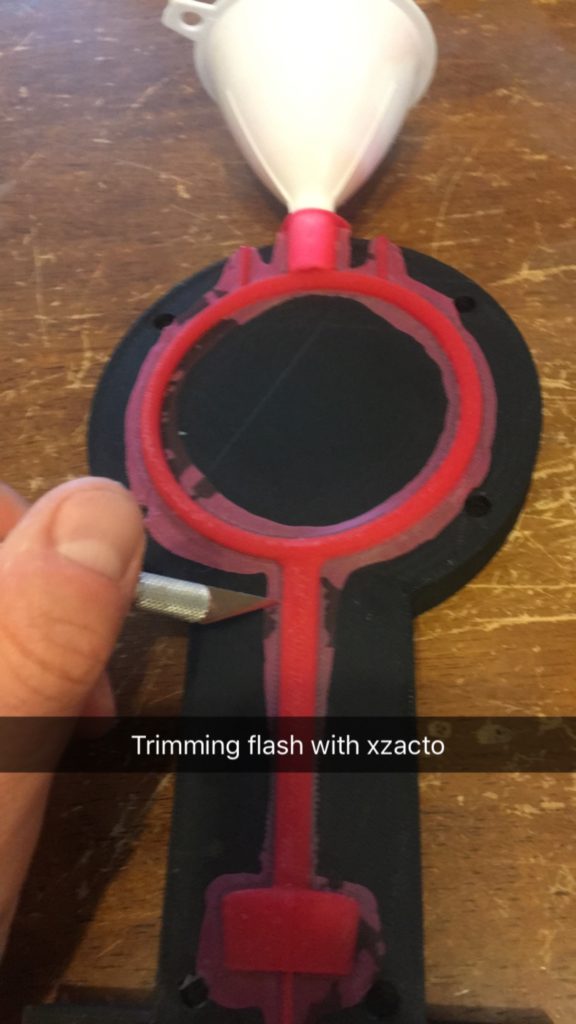
Figure 12
- At this point, you should be done and are ready to make your next part! See Figure 2 at the beginning for the final part image.
If you would like to purchase either of these Yeti Plugs, here are the links to my EBay Pages:


